Now that your resort reservation and tickets are linked to your My Disney Experience account, the next step is for you to customize your family’s MagicBands.
What are MagicBands?
MagicBands are “smart” bracelets that have been internally fitted with an RFID chip. The chip stores all of your vacation information and while on Disney property you use your MagicBand to unlock your resort room door, to enter the theme parks, to access your dining plan credits, to utilize the FastPass+ system, to use Disney’s PhotoPass, and to make purchases at shops and restaurants. What’s fantastic is that this means no more juggling a stack of park tickets at the FastPass machines or digging through your day pack for your wallet or room key – a touch of your wrist is all you need. MagicBands can be customized in your choice of color (options include red, orange, yellow, green, blue, pink and gray) and printed on the inside with your name (nicknames are welcome!). The bands are also one-size-fits-all and you can peel the child-sized bracelet out from within the larger one which is pretty neat. Guest Services or your resort concierge are there to help replace a missing MagicBand during your vacation. Replacement bands aren’t personalized, but they are linked to your My Disney Experience account and you will be able to go right along with your vacation as planned. MagicBands are also waterproof, which means that you can wear it throughout your Disney vacation even while swimming or bathing.
Ready to Get Started?
Log into your My Disney Experience account. From the My Disney Experience pulldown menu on the right select MagicBands and Cards. 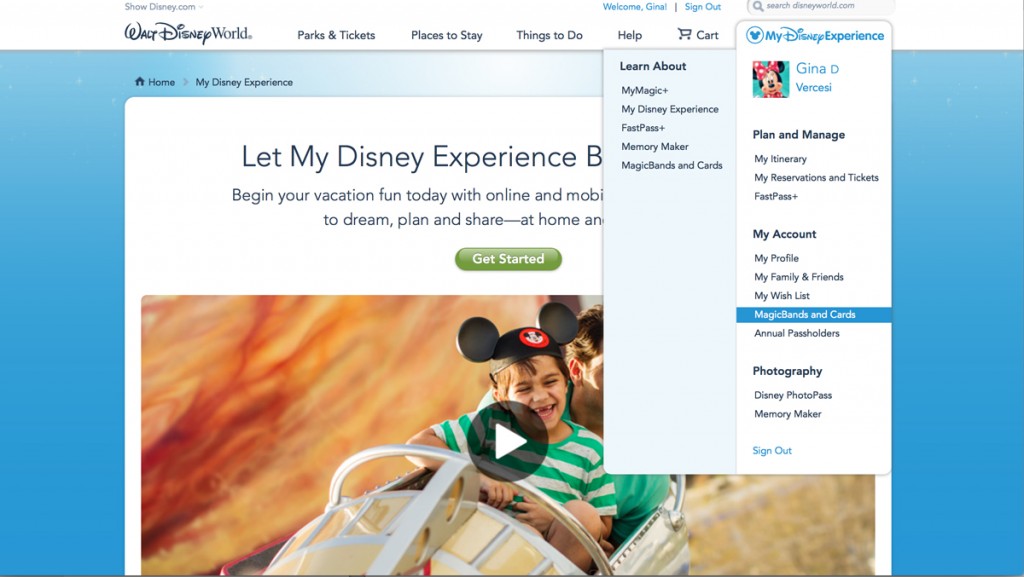
You will come to a screen where you will be asked to enter your shipping address. After you have done so, click ‘Done.’
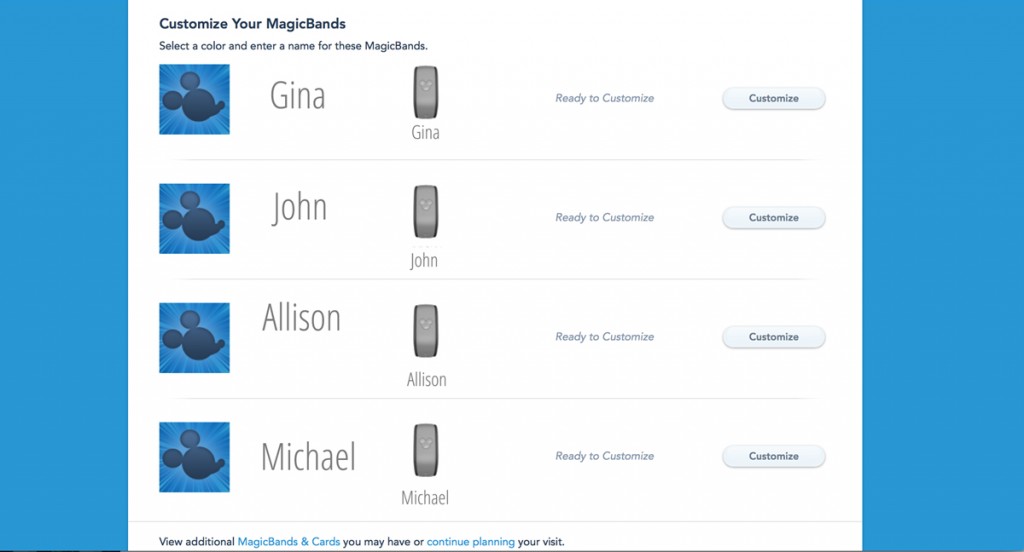
You will then come to this screen where you will see everyone who is on your resort reservation: Click on the ‘Customize Band’ button. (The names will look a bit different from how you see them here–first and last name will be listed. I tweaked this one from my account to help with this tutorial).
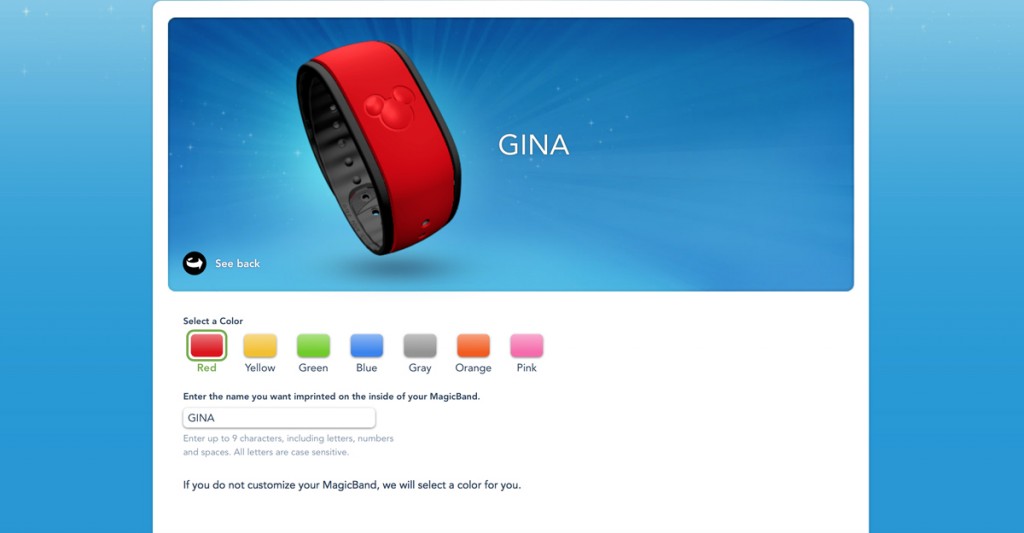
Next you’ll see this screen where you can customize the first band. You can choose whichever name you’d like – the names on the bands do not have to match the names on the resort reservation. So if you want them to say, Mommy, Daddy, Billy and Jenny vs. Mary, Tom, William and Jennifer which may be the official names on your reservation, that is absolutely fine!
After you have customized everyone’s band you will see a shipping confirmation screen. Now you’re all set to make some FastPass+ reservations for your trip! Tomorrow’s post? Tips and tricks for making your FastPass+ reservations!


Great tips! I have to say that I really love the Magic Bands.
Me, too, Heidi! So far I’ve only had a great experience using them, which has been twice. I’m very anxious to see if I am able to get additional FastPasses at the park kiosks after the first 3 reservations have been used. I was planning to try that out this weekend when I’m in Disney World (yay!). The only issue I foresee, aside from this not working at all, is the lines at the kiosks, which have thus far been VERY long–far longer than I’d ever seen at the legacy FastPass machines. Stay tuned!