In order to go forward with your planning including making your FastPass+ reservations for your Walt Disney World vacation you will first need to link your resort reservation to your account. To do this, your will need your Walt Disney World reservation confirmation number. If you booked through me, I can supply you with this information. Otherwise, your confirmation number should be in the confirmation email you received from Disney.
After you’ve created your account you can log in to it at any time. On the right hand side of the screen is the My Disney Experience logo. Clicking on that leads you to a pull-down menu.
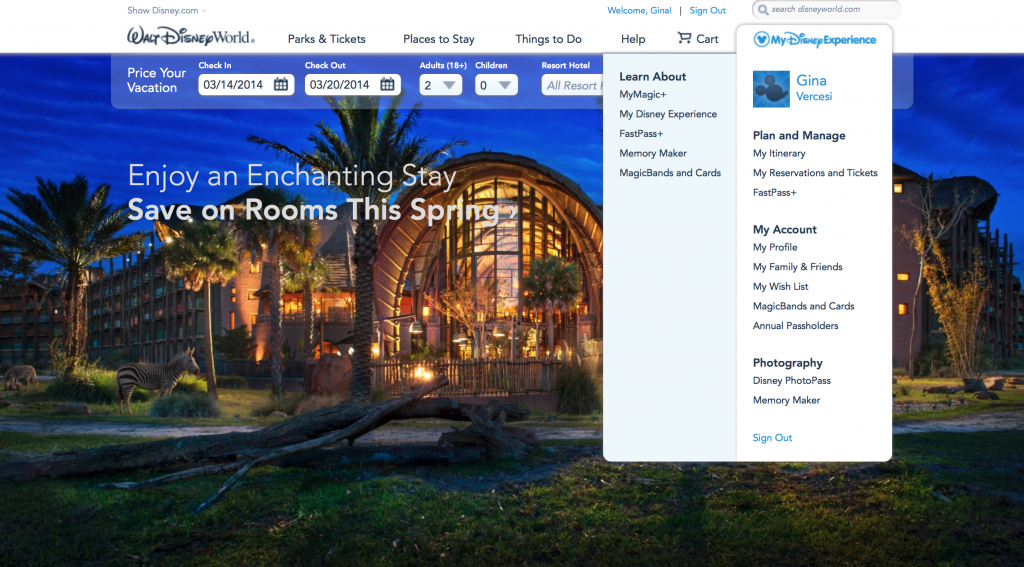
In that menu, scroll down and select My Reservations and Tickets. You will then see this screen:
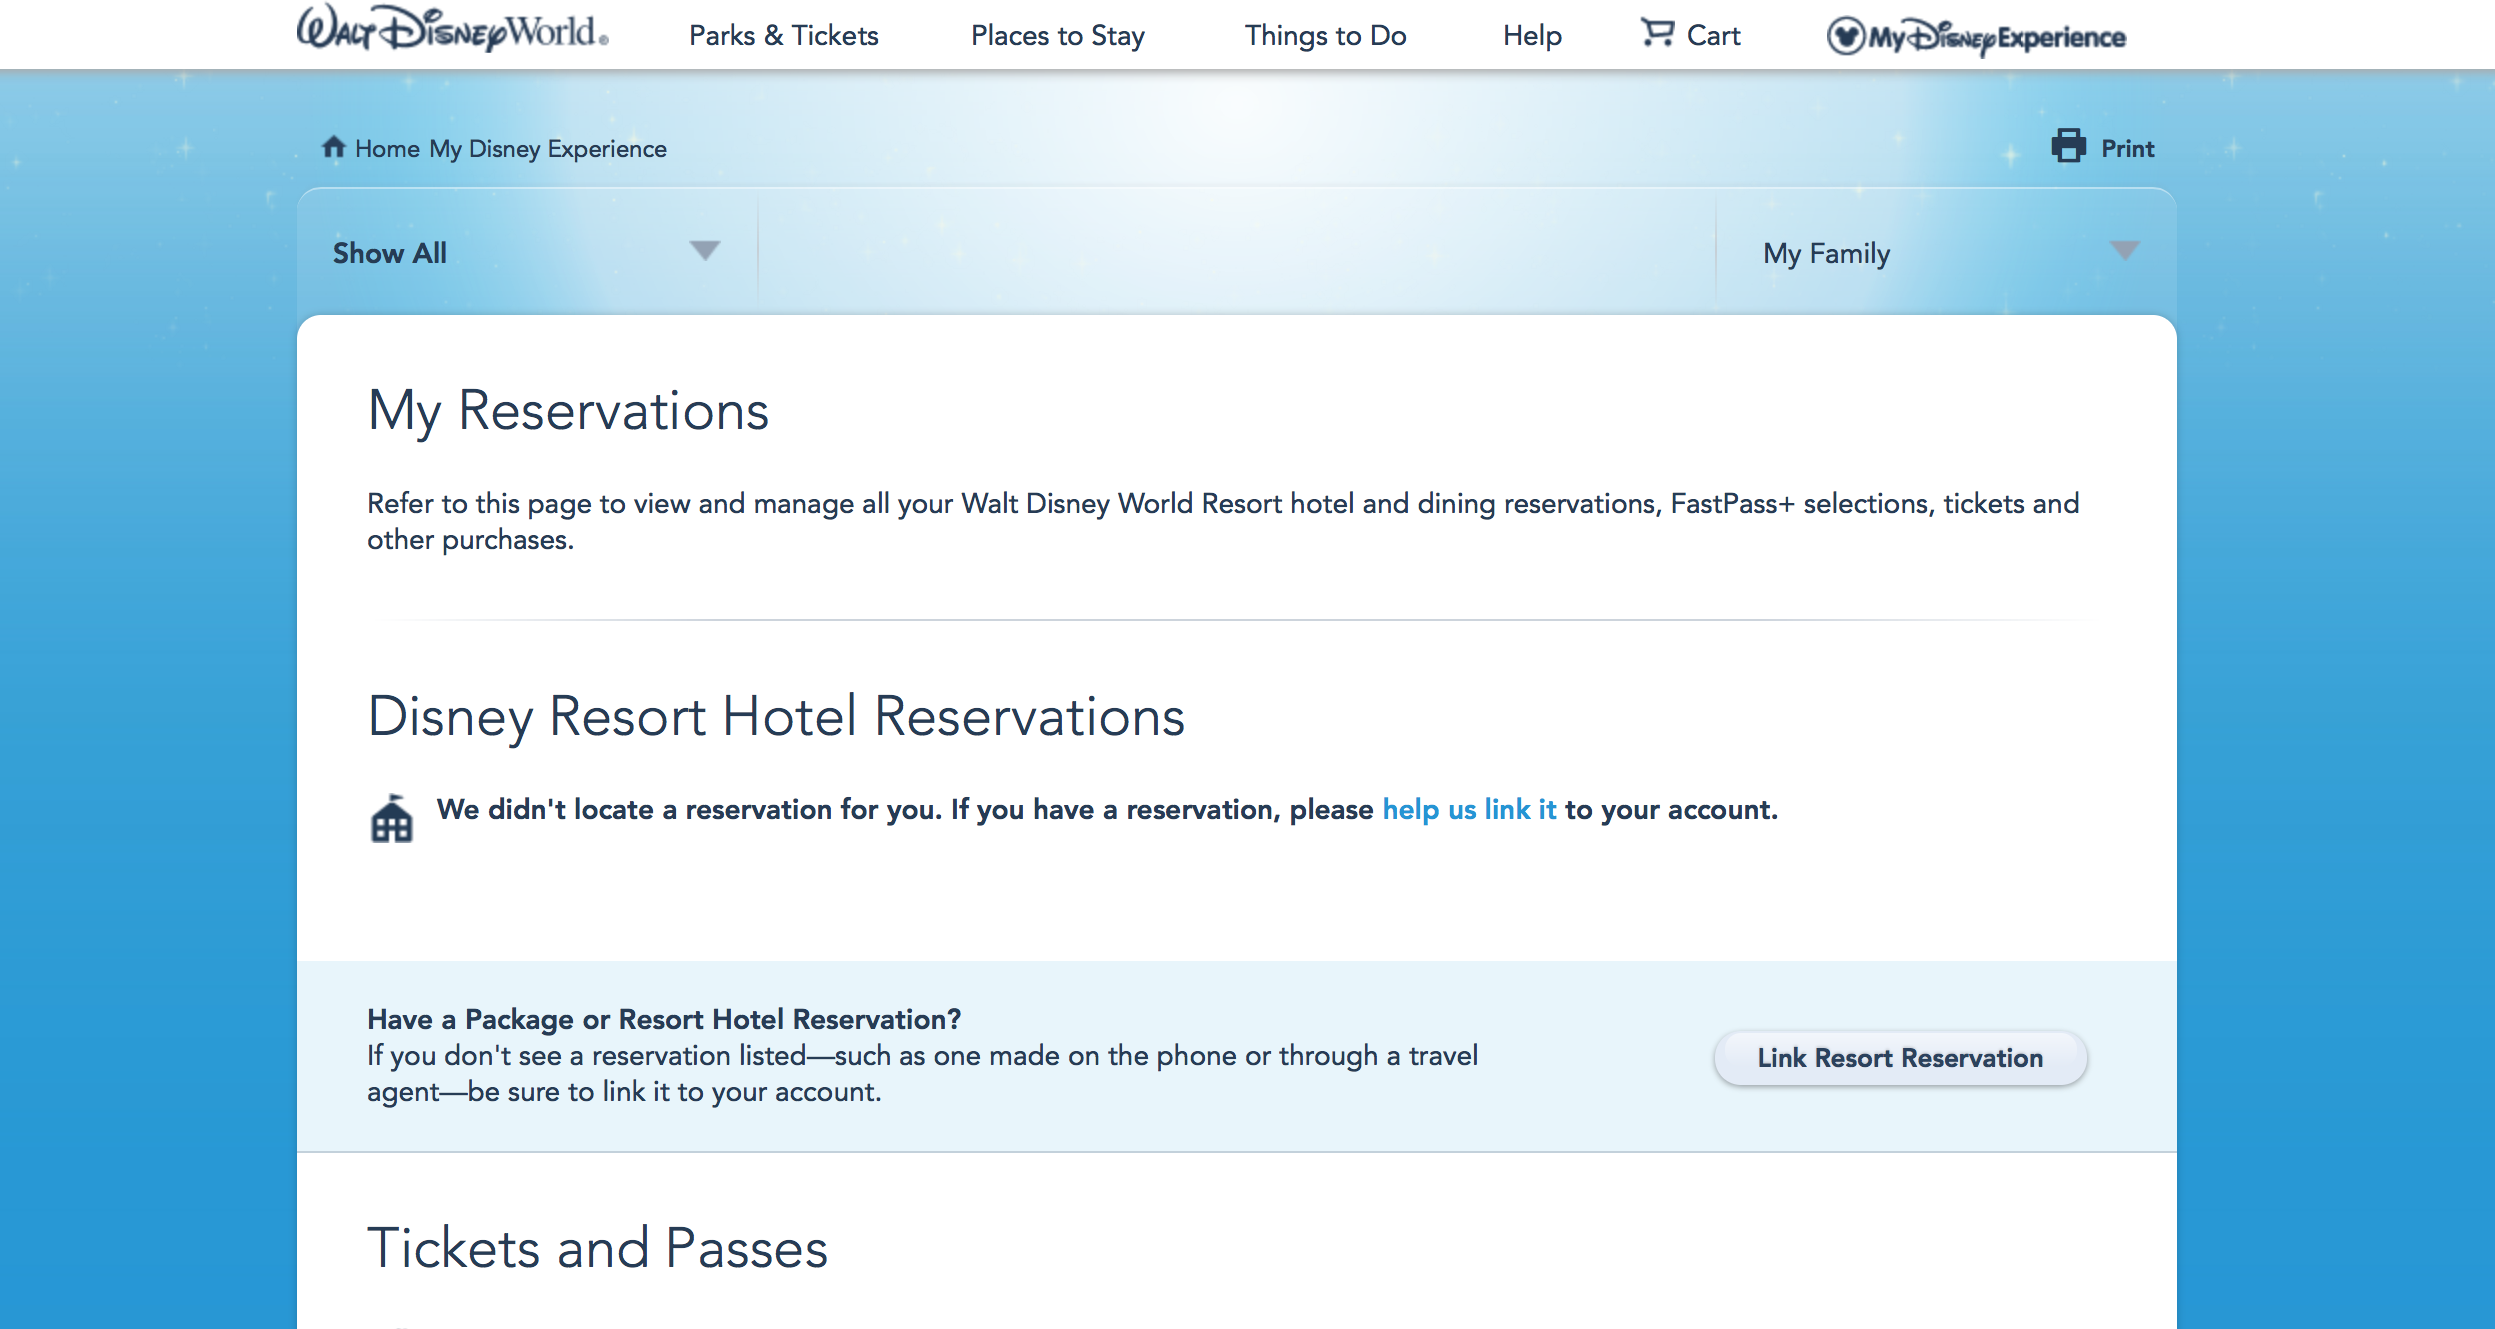
Click on the button that says ‘Link Resort Reservation.’ You will then see this screen:
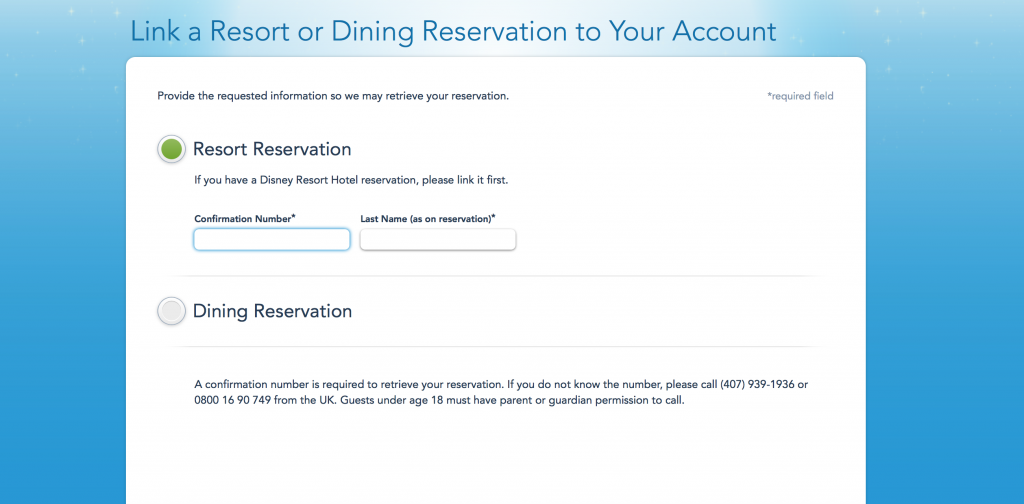
Click on ‘Resort Reservation’ button to color it green and then enter your Disney World resort reservation number and the last name of the person under whose name the reservation was made. You will then see a screen that should list the names of all of the people on that reservation. It will ask you if you want to invite them to plan and share with you. You don’t need to choose that option. This is best if several adults are in one room together and each of them has their own My Disney Experience account. If it is just your own family you will not need to do this at all.
Scroll down to the bottom of this screen and click ‘next.’ You don’t need to do anything else on this screen. If you booked a package that includes park tickets, your tickets will automatically upload to your account as well. If you plan to purchase tickets separately, you will need to link those to your account as well.
You can link park tickets the same way you linked your resort reservation above. Choose Reservations and Tickets from the pulldown menu after you’ve logged into your account. This will bring you to the same screen. Scroll down and click the button that says ‘Link Tickets.’ If you have your tickets in hand, enter the code that is in the bottom left hand corner of each ticket as directed by the image. You will need to do this for each ticket. You will then assign each ticket to one of the people on your resort reservation.
Once your resort reservation and tickets are linked to your account, you are ready to move on to customizing your MagicBands!
Ready for the next step? – How to Customize Your Magic Bands


Speak Your Mind